
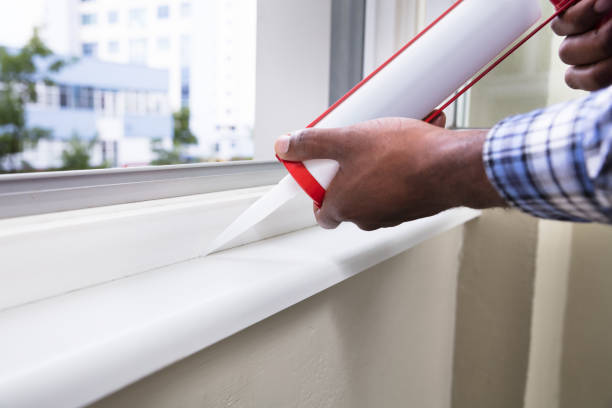
Learning how to caulk like a pro is one of those skills that looks simple but is easy to do badly — and bad caulk looks worse than no caulk. Here’s how to do it right the first time so your seams look clean and professional.
What You’ll Need
Caulk gun Silicone or latex caulk Utility knife or caulk remover tool Painter’s tape Rubbing alcohol Damp cloth
Choosing the Right Caulk
Silicone caulk — Waterproof and flexible. Best for bathrooms, kitchens, and anywhere exposed to moisture. Harder to paint over.
Latex caulk — Easier to work with and paintable. Best for baseboards, trim, and interior gaps where water isn’t an issue.
Paintable silicone caulk — The best of both worlds. Waterproof and paintable. Slightly more expensive but worth it.
Step 1 — Remove Old Caulk
Use a caulk remover tool or utility knife to cut away all the old caulk. This is the most important step. New caulk won’t adhere properly over old caulk.
Step 2 — Clean the Surface
Wipe the area with rubbing alcohol and let it dry completely. Any moisture or grease will prevent the caulk from sticking.
Step 3 — Apply Painter’s Tape
Apply painter’s tape on both sides of the gap, leaving only the gap exposed. This is the secret to clean, professional-looking caulk lines.
Step 4 — Load and Cut the Caulk
Cut the tip of the caulk tube at a 45-degree angle. Start with a small opening — you can always cut more, but you can’t uncut it. Puncture the inner seal with a long nail or the tool on the caulk gun.
Step 5 — Apply the Caulk
Hold the gun at a 45-degree angle and apply steady pressure while moving at a consistent speed. Don’t stop and start — keep moving for a continuous bead.
Step 6 — Smooth the Bead
Wet your finger and run it along the caulk bead in one smooth motion. This presses the caulk into the gap and creates a concave finished surface.
Step 7 — Remove the Tape
Pull the tape away immediately while the caulk is still wet. Pull at a 45-degree angle away from the caulk line for the cleanest result.
Final Thoughts
Good caulking makes a huge difference in how finished a room looks. It takes practice, but after one or two joints you’ll have it down.
Just moved into a new home? Check out our guide on what to do when you move into a new house.
Disclosure: This post contains affiliate links. If you click and make a purchase, FourByFourDIY earns a small commission at no extra cost to you.
 FourByFourDIY
Leave a comment