
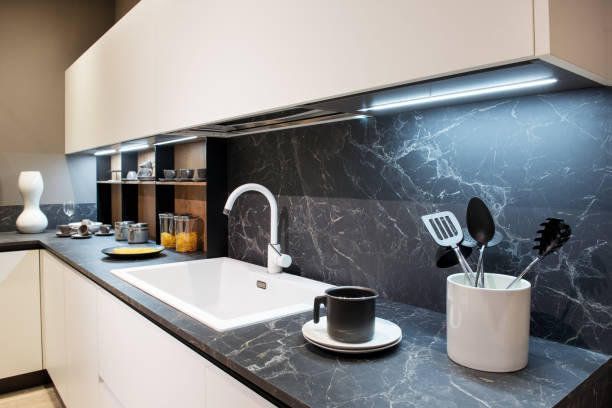
Installing a backsplash is one of the best bang-for-your-buck upgrades you can do, and learning how to install a backsplash yourself makes it even better. It transforms a kitchen or bathroom in a weekend and the materials cost a fraction of what a contractor charges. Here’s how to do it yourself.
What You’ll Need
Peel and stick tiles or standard ceramic tiles Tile adhesive or mastic (if using standard tiles) Grout float Tile spacers Tile cutter or wet saw Level Measuring tape Sponge and bucket
The Easiest Option for Beginners — Peel and Stick Tiles
If this is your first backsplash, start with peel and stick tiles. They look great, require no adhesive or grout, and can be removed if you change your mind. Perfect for renters too.
Step 1 — Clean the wall thoroughly. The surface must be completely clean and dry for the adhesive to stick.
Step 2 — Find your center point. Measure the width of the wall and mark the center with a pencil. Starting from the center gives you symmetrical tile placement on both sides.
Step 3 — Peel and stick. Start at the center bottom and work outward. Press each tile firmly into place.
Step 4 — Cut edge tiles. Use a utility knife and straight edge to cut tiles that need to fit around edges, outlets, or corners.
How to Install Standard Tile
Step 1 — Apply tile adhesive to the wall using a notched trowel. Work in small sections so the adhesive doesn’t dry before you place the tiles.
Step 2 — Press tiles into the adhesive and use tile spacers to keep consistent gaps between them.
Step 3 — Let the adhesive cure for 24 hours before grouting.
Step 4 — Apply grout using a grout float, pressing it into the gaps at a diagonal angle. Wipe off excess with a damp sponge before it dries.
Step 5 — Let grout cure for 48 to 72 hours before exposing it to water.
Tips for a Professional Result
Always start from the center and work outward. Starting from a corner almost always looks uneven.
Use a level constantly. Even one slightly off tile throws off the whole row.
Final Thoughts
A backsplash installation takes one weekend and costs $50 to $200 in materials. A contractor charges $400 to $1,000 for the same job. This is one of the best DIY skills you can learn.
Just moved into a new home? Check out our guide on what to do when you move into a new house.
Disclosure: This post contains affiliate links. If you click and make a purchase, FourByFourDIY earns a small commission at no extra cost to you.


Leave a Reply