
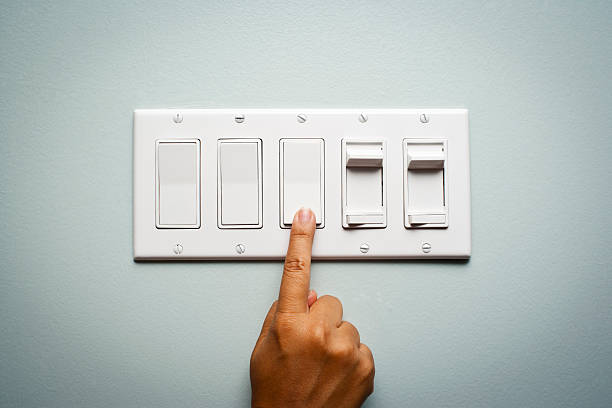
Replacing a light switch is one of the simplest electrical jobs a homeowner can do. It takes about 20 minutes, and the switch itself costs $5 to $15. Here’s how to do it safely.
What You’ll Need
New light switch, Flathead and Phillips screwdrivers, voltage tester, electrical tape, needle nose pliers
Safety First
Turn off the breaker that controls the switch before you touch anything. Then use a voltage tester to confirm the power is off. Never skip this step.
Step by Step
Step 1 — Turn off the power at the breaker and verify with a voltage tester.
Step 2 — Remove the switch plate cover by unscrewing the two screws.
Step 3 — Unscrew the switch from the electrical box. Pull it out gently — the wires are still attached.
Step 4 — Take a photo of the wiring before disconnecting anything. This is your reference for reassembly.
Step 5 — Disconnect the wires from the old switch. Most standard switches have two black wires and a green or bare copper ground wire.
Step 6 — Connect the wires to the new switch in the same configuration. Wrap the connections with electrical tape for extra security.
Step 7 — Push the switch back into the box and screw it in place.
Step 8 — Attach the cover plate and restore power at the breaker.
Step 9 — Test the switch.
Types of Switches
Single pole switch — Controls one light from one location. The most common type. This guide covers single-pole switches.
3-way switch — Controls one light from two locations, like at the top and bottom of stairs. Slightly more complex wiring but still beginner-friendly.
Dimmer switch — Works the same as a standard switch but adds dimming capability. Make sure your light bulbs are dimmable before installing.
Final Thoughts
Replacing a light switch is the perfect first electrical project. Once you do it, you’ll realize electrical work isn’t as scary as it seems.
Lastly, if at any point you are unsure about completing the above tasks, contact a professional to resolve your lighting issues.
Just moved into a new home? Check out our guide on what to do when you move into a new house.
Disclosure: This post contains affiliate links. If you click and make a purchase, FourByFourDIY earns a small commission at no extra cost to you.


Leave a Reply