
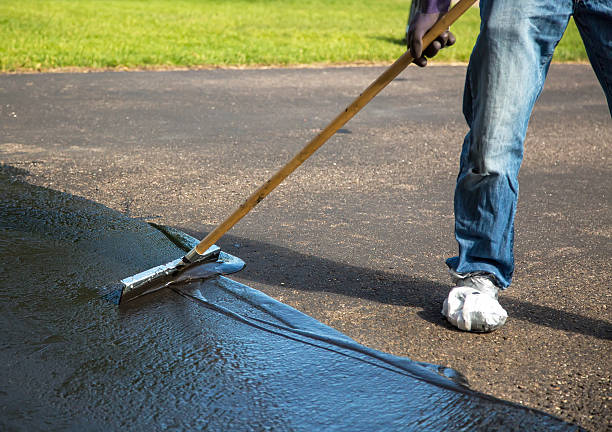
Learning how to seal an asphalt driveway protects it from cracking, water damage, and the slow breakdown that comes from sun exposure. Sealing every 2-3 years can add years to a driveway’s life and costs a fraction of repaving.
What You’ll Need
Driveway sealer (asphalt-based or coal tar-based, sold in 5-gallon buckets), a squeegee applicator or push broom, a wire brush, crack filler for any existing cracks, and painter’s tape to protect edges.
Best Time to Seal
Choose a stretch of dry weather with temperatures between 50-85°F. Avoid sealing right before rain is expected — most sealers need 24-48 hours to cure before getting wet.
Step 1 — Clean the Driveway Thoroughly
Sweep away all debris, then scrub out any oil stains with a degreaser and stiff brush. A clean surface is essential — sealer won’t bond properly over dirt, oil, or loose gravel.
Step 2 — Fill Cracks First
Use a crack filler product for any cracks wider than a hairline. Apply according to the product instructions and let it cure fully — usually 24 hours — before sealing over it.
Step 3 — Protect Edges
Use painter’s tape along the edges where the driveway meets grass, garage door tracks, or walkways to keep the sealer contained to the driveway surface.
Step 4 — Stir and Apply the Sealer
Stir the sealer thoroughly before use, since the solids settle. Pour a strip across the top of the driveway and spread it evenly with a squeegee applicator, working in manageable sections and maintaining a consistent thickness.
Step 5 — Apply a Second Coat If Needed
Most driveways look best with two thin coats rather than one thick one. Let the first coat dry for several hours before applying the second, following the same direction.
Step 6 — Let It Cure
Keep all foot and vehicle traffic off the driveway for at least 24 hours, and ideally 48-72 hours for vehicles, to allow the sealer to fully cure.
Just moved into a new home? Check out our guide on what to do when you move into a new house.
Disclosure: This post contains affiliate links. If you click and make a purchase, FourByFourDIY earns a small commission at no extra cost to you.
 FourByFourDIY
Leave a comment