
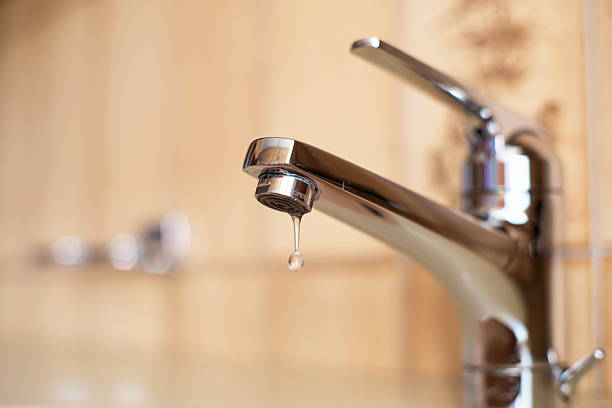
Learning how to fix a dripping faucet is one of the highest-return repairs in a home — a single dripping faucet wastes thousands of gallons of water per year and that adds up on your water bill. The fix costs almost nothing and takes under an hour.
Why Faucets Drip
Almost every dripping faucet comes down to a worn internal component that no longer creates a watertight seal when the handle is closed. Which component depends on the type of faucet you have.
What You’ll Need
An adjustable wrench, flathead and Phillips screwdrivers, replacement washers or cartridge, plumber’s grease, and a towel. Turn off the water supply valves under the sink before starting — turn them clockwise until they stop.
Ball Faucets (Single Handle That Rotates)
The drip usually comes from worn springs, seats, or O-rings inside the ball assembly. Buy a repair kit specific to your faucet brand — they include all the parts you need. Remove the handle by unscrewing the set screw under the decorative cap, unscrew the packing nut, and lift out the ball assembly. Replace the springs, seats, and O-rings, reassemble in reverse order, and test.
Cartridge Faucets (Two Handles)
Pull off the handle, unscrew the retaining nut, and pull straight up on the cartridge to remove it. Take it to the hardware store to find an exact match. Insert the new cartridge in the same orientation, reassemble, and test.
Compression Faucets (Older Two-Handle Style)
These have a rubber washer at the bottom of the stem that wears out over time. Remove the handle, unscrew the packing nut, pull out the stem, and replace the washer at the bottom with a matching size. This is the simplest faucet repair there is.
Ceramic Disc Faucets (Single Lever)
These rarely drip but when they do it’s usually due to a cracked disc or dirty inlet holes. Remove the cylinder, clean the inlet holes with white vinegar, and replace the ceramic disc if it’s cracked.
Just moved into a new home? Check out our guide on what to do when you move into a new house.
Disclosure: This post contains affiliate links. If you click and make a purchase, FourByFourDIY earns a small commission at no extra cost to you.


Leave a Reply