
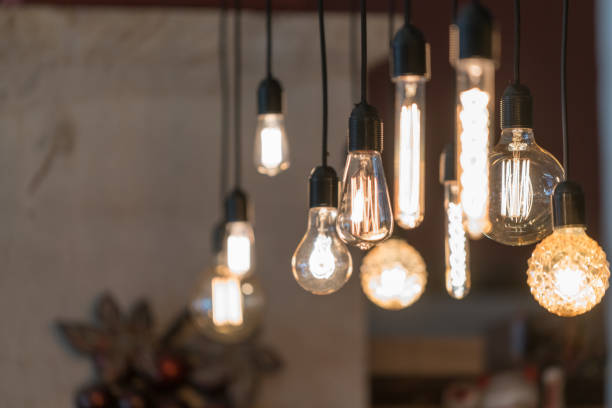
Learning how to install a ceiling light fixture is one of the most impactful upgrades you can make to a room — swapping a builder-grade fixture for something with real style takes about 30 minutes and makes an immediate difference. No electrician needed.
What You’ll Need
A voltage tester, flathead and Phillips screwdrivers, wire connectors, electrical tape, a ladder, and your new light fixture. The new fixture will come with its own mounting hardware.
Safety First — Always
Turn off the breaker that controls the light before touching anything. Then use a voltage tester on the wires in the ceiling box to confirm the power is actually off. This is non-negotiable.
Step 1 — Remove the Old Fixture
Unscrew the canopy (the decorative cover against the ceiling) and support the fixture while you disconnect the wires. Take a photo of the wiring before disconnecting anything — this is your reference for reinstallation.
Step 2 — Check the Electrical Box
Make sure the ceiling box is rated for the weight of your new fixture. Most standard boxes handle up to 35 pounds. If your new fixture is heavier, you’ll need a fan-rated box which can support up to 150 pounds.
Step 3 — Attach the Mounting Bracket
Most new fixtures come with a mounting bracket that attaches to the ceiling box with two screws. This is what the fixture hangs from.
Step 4 — Connect the Wires
Match the colors — white to white, black to black, and green or bare copper to the ground wire. Twist the wire connectors on clockwise until snug, then wrap with electrical tape for extra security.
Step 5 — Attach the Fixture
Tuck the wires into the ceiling box, line up the fixture canopy with the mounting bracket, and secure with the included screws or decorative nuts.
Step 6 — Install Bulbs and Test
Install the bulbs, restore power at the breaker, and test. If the light flickers or doesn’t work, turn power back off and check that all wire connections are secure.
Just moved into a new home? Check out our guide on what to do when you move into a new house.
Disclosure: This post contains affiliate links. If you click and make a purchase, FourByFourDIY earns a small commission at no extra cost to you.


Leave a Reply