
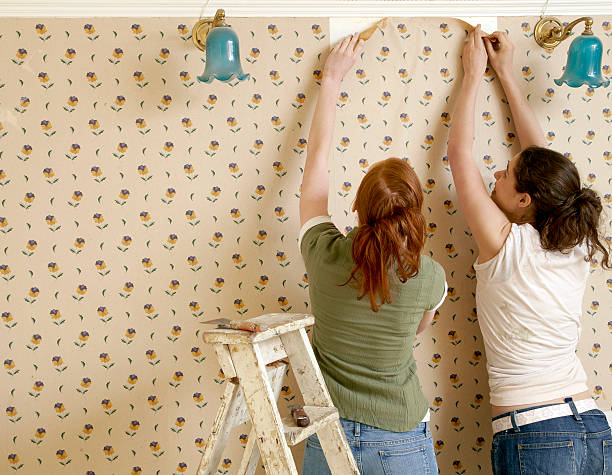
Learning how to remove wallpaper is one of those projects that sounds straightforward but can go sideways fast if you don’t know what you’re dealing with. The right approach depends on what’s underneath — and a little patience goes a long way.
Before You Start — Know Your Wall Type
The biggest risk with wallpaper removal is damaging the drywall underneath. If your home was built before the 1980s, the walls may be plaster, which handles moisture better. Drywall is more vulnerable — too much water soaking in can damage the surface and create more work than the wallpaper itself.
What You’ll Need
A scoring tool, a spray bottle or garden sprayer, wallpaper removal solution (or fabric softener mixed with hot water), a wide plastic scraper or putty knife, drop cloths, and painter’s tape to protect trim and outlets.
Step 1 — Score the Wallpaper
Run a scoring tool over the wallpaper in circular motions. This creates small holes that let the removal solution penetrate behind the paper to the adhesive. Don’t press too hard — you want to score the paper, not gouge the wall.
Step 2 — Apply Removal Solution
Mix wallpaper removal solution with hot water according to the label, or use a 50/50 mix of fabric softener and hot water. Spray generously onto a section of wall and let it soak for 5-10 minutes until the paper feels soft and starts to pull away from the wall slightly.
Step 3 — Scrape Carefully
Use a wide plastic scraper at a low angle to peel the paper away. Work in sections and keep the wall wet as you go. Avoid digging the scraper into the wall — if it’s not coming off easily, apply more solution and wait longer.
Step 4 — Remove the Adhesive Layer
Many wallpapers have two layers — the decorative top layer and a backing layer glued to the wall. After removing the top layer, spray the backing and scrape it off the same way.
Step 5 — Clean the Wall
Once all the paper is off, wash the wall with warm water to remove remaining adhesive residue. Let it dry completely for at least 24 hours before painting or applying new wallpaper.
Step 6 — Repair Any Damage
Check the wall for tears, gouges, or lifted drywall paper. Use joint compound to repair any damage, sand smooth, then prime before painting.
Just moved into a new home? Check out our guide on what to do when you move into a new house.
Disclosure: This post contains affiliate links. If you click and make a purchase, FourByFourDIY earns a small commission at no extra cost to you.


Leave a Reply